How to pack motorcycle camping gear with dry bags is a loading system for waterproof protection, stable handling, and fast camp access. If you load weight badly or seal bags wrong, you risk wet gear and loose luggage on the road. This guide gives a repeatable pack order and tie-down method. For the wider category view, start with the main motorcycle camping gear guide.
Jump Ahead To:
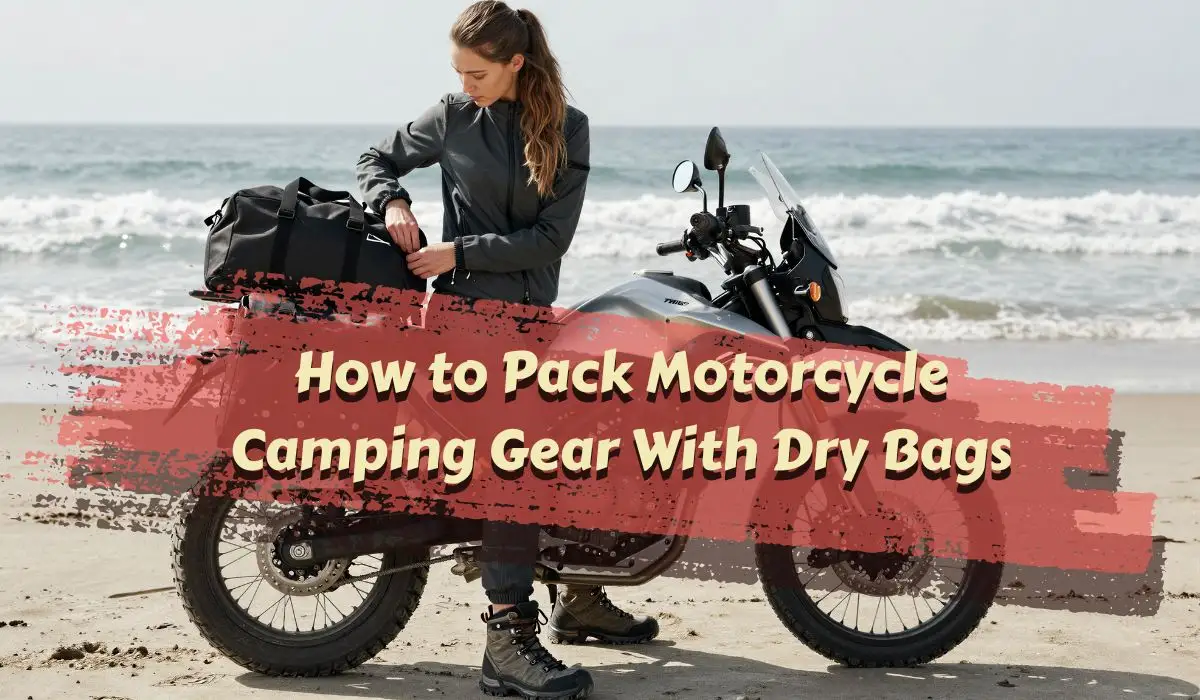
What Packing With Dry Bags Means
A dry bag is not just a storage sack. It is a weather and logistics tool.
You use it to do three things:
- Protect soft gear from rain and spray.
- Compress bulky items to fit motorcycle space.
- Mount luggage in stable zones without load shift.
If you ride with soft luggage, this method is essential.
Core Concepts That Make Dry-Bag Packing Work
Roll-top closure must be done right
A loose roll-top is one of the main causes of water intrusion. Keep the top tight, purge extra air, then roll and buckle cleanly.
Heavy low, light high
Put dense items low and forward in side luggage. Use higher or rear zones for light but bulky gear like compressed sleep kits.
Straps matter more than people think
Non-elastic tie-down systems are usually safer and more stable than stretch-only methods. Keep strap tails secured so nothing can reach wheel or chain paths.
Heat clearance is mandatory
Soft luggage near exhaust flow can fail fast. Always verify clearance with loaded suspension.
If you are still choosing bag types, compare options in best dry bags for motorcycle camping and best motorcycle luggage.
Step-by-Step Dry-Bag Packing Workflow
1. Sort gear by weight and priority
Separate heavy items from soft bulky items before you start packing.
2. Compress soft gear first
Use compression for sleep gear and clothing where it helps volume. Do not keep those items compressed long-term after the trip. This matters most for motorcycle camping sleeping bags and other bulky recovery gear.
3. Purge air before sealing
Remove trapped air so bags sit flatter and stack tighter.
4. Seal roll-top correctly
Keep the opening tight and roll consistently before clipping.
5. Load heavy gear low and forward
This helps handling and keeps the bike more predictable at low speed.
6. Mount lighter bulky bags in upper/rear zones
Use rear placement for light bulky items, not dense weight. That usually means tents, pads, and camp clothing rather than tools, water, or cookware. If you are still sorting shelter volume, compare motorcycle camping tents before you finalize bag size.
7. Strap to structural points
Use stable anchor points and even tension left to right.
8. Check heat, movement, and clearance
Bounce the suspension, turn bars full lock, and confirm no strap or bag can contact hot or moving parts.
If your setup is rackless and you want cleaner load structure, pair this with our guide to mounting motorcycle luggage safely.
Quick Dry-Bag Packing Checklist
- Gear sorted by weight and use frequency.
- Soft gear compressed.
- Air purged from bags before final closure.
- Roll-top closure done correctly.
- Heavy items low and centered.
- External bags strapped evenly.
- Strap tails tucked and secured.
- Exhaust and wheel clearance checked.
Decision Guide for Packing Choices
Use internal pannier placement when:
- You need better theft resistance.
- Weather is severe and constant.
- You carry dense tools or liquids.
Use external dry-bag mounting when:
- You need extra volume for light bulky items.
- You want faster camp setup access.
- You can secure strong tie-down points safely.
Use mixed setup when:
- You need both quick access and stable weight distribution.
Safety Notes for Road Use
Do a short test ride after final packing. Recheck straps and bag position after a few kilometers.
Do not trust one quick pull on a strap as your only check. Validate tension, anchor direction, and movement under load.
Keep chemicals and harsh fluids isolated from main fabric contact where possible.
For overall camp workflow, combine this with the motorcycle camping checklist and the camp kitchen setup guide so your packing order matches your camp routine. It also helps to match your tie-down routine with your motorcycle camping security setup so luggage stays both stable and harder to grab at stops.
Common Mistakes (and Fast Fixes)
Mistake: Packing dense items in tail-high zones
Fix: Move dense weight lower and more central.
Mistake: Over-compressing everything into rigid blocks
Fix: Use compression where useful, but allow soft items to fill odd voids cleanly.
Mistake: Weak roll-top sealing
Fix: Re-open, purge air, and reseal with consistent folds.
Mistake: Strap tails left loose
Fix: Tuck and secure all loose ends before riding.
Mistake: No clearance check after full load
Fix: Verify exhaust, wheel, chain, and suspension clearance every time load changes.
Frequently Asked Questions
How many times should I roll a dry bag closure?
Use a proper tight roll and buckle seal as your baseline. Consistent closure technique matters more than rushing.
Should I put heavy items in a top bag?
No. Keep dense items low and centered whenever possible.
Are dry bags and compression sacks the same thing?
Not always. A dry bag focuses on waterproof protection. A compression sack focuses on reducing volume.
Can I keep my sleeping bag compressed in storage between trips?
No. Decompress and store it loosely after the trip to protect loft.
What is the biggest safety risk with bad strap setup?
Loose or shifting straps and bags can contact moving parts and create a serious crash hazard.
How do I reduce handling issues when fully loaded?
Balance left-right load, keep heavy mass low, and run a quick loaded test ride before long distance.
If you want a complete luggage strategy, use this together with our luggage weight distribution guide and our motorcycle luggage security guide so your setup stays stable and secure. For bag-specific picks, compare dry bags for motorcycle camping and water strategy for motorcycle camping.