Hey friends! Are you interested in starting a motovlog channel on YouTube? Or maybe you already have a channel, but are looking to step up your video quality. Well, you’ve come to the right place.
In this complete guide, I’ll be sharing everything you need to know to create awesome motovlogs in 2023. We’ll go over the must-have gear, ideal settings, tips for capturing great footage, and plenty more.
Let’s get started!
Jump Ahead To:
Quick Motovlogging Setup Recommendations
If you just want a quick look at solid motovlogging gear picks, here are some safe bets to consider:
Camera
- GoPro Hero 10 Black
Microphone
- Rode Wireless Go
Mounts
- Chin Mount – GoPro Chin Mount
- Chest Mount – GoPro Chest Mount
Software
- Adobe Premiere Rush
These recommendations will get you started with a high quality setup. But be sure to read through the full guide below for more options and budget alternatives for cameras, mics, mounts, and editing software.
We’ll cover everything in detail to help tailor the perfect motovlogging setup based on your needs and budget.
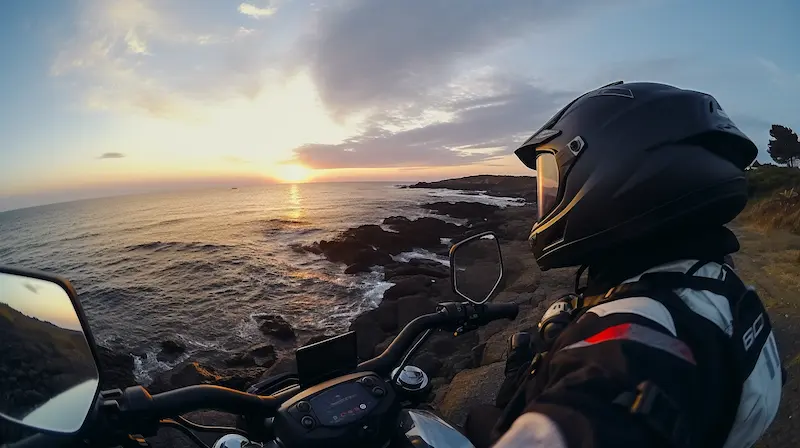
An Introduction to Motovlogging
Motovlogging has exploded in popularity on YouTube over the last few years. For the uninitiated, motovlogging involves filming yourself while riding a motorcycle and providing entertaining or informative commentary.
Motovlogs let riders share their experiences on two wheels with an audience. Viewers get to ride along through inspiring landscapes, join group rides, and learn about motorcycles, gear, modifications, events, and so much more.
But high-quality motovlogs don’t just happen. They require the right equipment, settings, editing knowledge, and more. Keep reading as I break down everything that goes into crafting truly epic motovlog footage.
How to Choose Motovlogging Equipment
Building a motovlogging setup starts with selecting the right camera, microphone, mount, transportation, and editing software for your budget.
Here are the key factors to consider for each component:
Motovlogging Camera
- Video resolution – 1080P is good for beginners, 4K+ offers more detail
- Video stabilization – Essential for smooth footage on a motorcycle
- Durability – Must withstand weather, vibration, potential crashes
- Field of view – Wider is better to capture your surroundings
- Mounting options – Should have mounts available for helmets, bars, etc.
Selecting the right camera is crucial for capturing high quality motovlog footage.
Look for key features like high video resolution for sharp detail, built-in stabilization to offset vibration, durability to withstand outdoor conditions, a wide field of view to fully capture your surroundings, and mounting options to properly attach the camera.
Test potential cameras at the speeds you plan to ride to ensure they can handle motion blur and wind noise. Invest in the best camera you can afford that delivers on resolution, stabilization, durability, and a versatile mounting system.
Motovlogging Microphone
- Wind protection – Critical for reducing wind noise at speed
- Mounting options – Should securely mount inside your helmet
- Compatibility – Plug into camera directly or work with phone/recorder
- Audio quality – Look for clear vocal pickup, voice isolation
Audio is just as important as video when motovlogging, so choose an external mic over relying on your camera’s built-in mic.
Seek out mics with effective wind protection and noise cancellation to reduce distracting wind noise at riding speed.
Pick a sturdy mount to secure the mic inside your helmet right near your mouth for optimal voice pickup.
Look for mics with clear audio quality and voice isolation that plug directly into your camera setup. A mic with an integrated windscreen, shock mount, and power through the camera offers convenience.
Test mics at highway speeds to ensure high quality vocal audio free of wind distortion.
Camera Mounts
- Helmet mounts – Securely attach your camera to the helmet exterior
- Chest mounts – Useful viewpoint and vibrations don’t affect footage
- Bike mounts – Allow you to mount camera on bike frame or handlebars
Mounts securely attach your camera to your motorcycle gear while motovlogging. Helmet mounts provide an immersive forward-facing perspective.
Chest mounts capture an engaging upper body view less affected by bike vibration. Handlebar mounts allow you to easily point the camera using bike steering.
Look for high quality mounts that tightly lock cameras in place at high speeds and vibration. Fully adjustable joints make pointing the camera easy from any mounting position.
Use tethers and stabilizers for critical redundancy in case mount failures occur at speed. Test mounts thoroughly before relying on them for motovlogging.
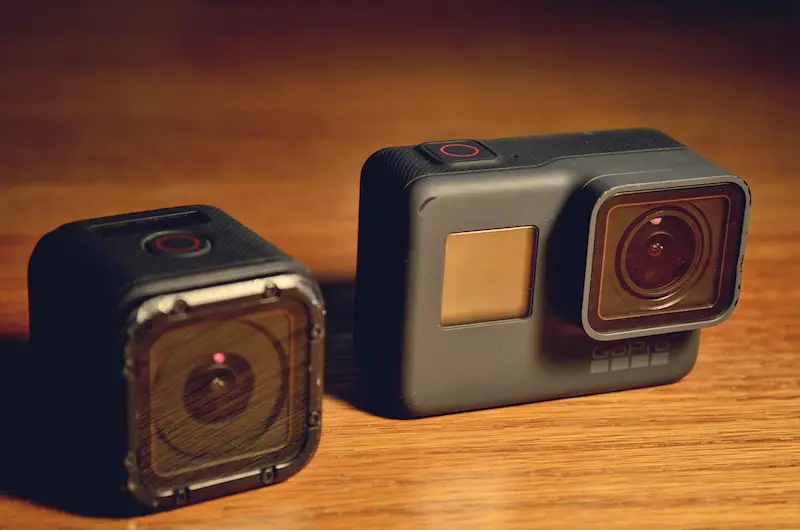
Choosing the Best Motovlogging Camera
The foundation of every great motovlog is excellent video, so choosing the right camera is crucial. You’ll want a camera that’s compact, mounts securely to your bike/helmet, shoots stable footage, and can capture ample detail.
Here are my top camera recommendations for motovlogging in 2023:
AKASO EK7000 Pro

The AKASO EK7000 Pro is an ultra budget-friendly 4K camera that still produces decent quality footage. It captures 4K video at 30fps with built-in electronic image stabilization.
While the quality isn’t on par with GoPro, for under $100 it’s a great starter option if you want to try motovlogging on a tight budget. Just don’t expect advanced features or accessories. But for the price, it certainly gets the job done.
GoPro Hero 7 or 9 Black

If you’re just starting out, going with a 1 or 2 generation old GoPro is a smart budget choice. You can find used Hero 7 or GoPro Hero 9 Black models for around $200-300.
These capture crisp 4K video and have the same mounting system as the newest GoPros. Image stabilization is also solid on both models. If funds are limited, you really can’t go wrong here.
Avoid the GoPro Hero 8
I’d recommend avoiding the GoPro Hero 8 Black for motovlogging. Here are a few of its limitations:
- It doesn’t allow you to remove and replace the lens cover yourself. This makes it risky since the lens is vulnerable to scratches and cracks while riding.
- The audio quality is worse than the Hero 7 or 9 due to overly aggressive noise reduction. It can sound muffled and unnatural.
- Without a removable lens cover, you can’t easily add ND filters for motion blur and exposure control while motovlogging.
- The built-in stabilization crops the image more than the Hero 7, giving you less flexibility for framing shots.
GoPro Hero 10 or 11 Black
For the best quality, the GoPro Hero 10 or current Hero 11 Black are fantastic options. The Hero 11 brings some incremental improvements, but the Hero 10 is still an outstanding choice.
These shoot butter smooth 5.3K video with excellent dynamic range and low light performance. You’ll capture the most detail possible and have room to crop or stabilize footage if needed.
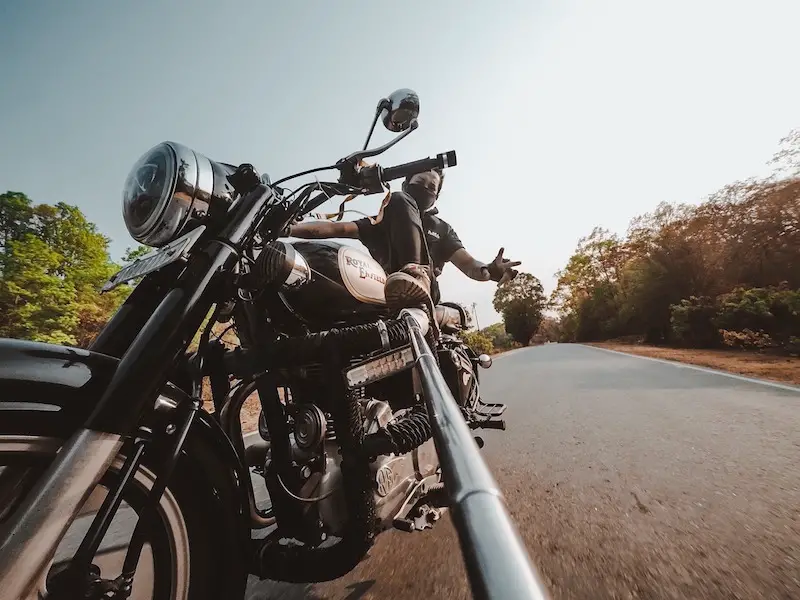
Insta360 One R
The One R from Insta360 is a great GoPro alternative. It’s especially awesome for getting cool external shots from different angles.

As one motovlogger put it:
“Kind of cool external to the bike shots where it feels like somebody’s following behind me or, you know, I’ve got a drone following above me. It’s actually this. It’s really a nice, neat, handy package that produces some very impressive footage.”
So if you want more flexibility in shot framing, the One R is fantastic. It also has built-in stabilization and shoots 5.7K video.
Audio: Capturing Great Motovlog Commentary
High-quality audio is just as crucial as video for engaging motovlogs. Here’s the gear you need to record crisp voiceover while riding:
Lapel Microphone
A lapel or lavalier mic is essential for recording your motovlog commentary. These clip onto your shirt or jacket collar to capture voice audio clearly.
Make sure to get a mic compatible with your camera like the GoPro Media Mod or mic adapter. You want the mic as close to your mouth as possible without encountering wind noise.
Wind Slayer

Adding a cheap wind slayer to your camera housing is an easy way to cut down wind noise significantly. These foam sleeves block out distracting wind buffeting.
A wind slayer reduces noise around 80% of the time. It’s not perfect, but drastically improves audio for only ~$10.
Capturing Great Motovlog Audio
High quality audio is critical for motovlogging. Here are some tips for capturing professional voiceover audio while riding:
- Invest in a dedicated external audio recorder like the Zoom H1n or Tascam DR-05X with manual gain control. This allows you to adjust levels on the fly while riding to optimize vocal clarity and reduce wind noise.
- Consider a wireless system like the Rode Wireless Go to record audio separately from the camera. This gives you greater mounting flexibility without cables, while also isolating the audio recorder from vibrations that can introduce noise.
- Experiment with mic positioning under your helmet to find the optimal spot for cleanest vocal pickup.
- Review audio levels in editing to enhance your voiceover quality. Great video footage gets wasted with subpar audio.
Budget Smartphone Audio
For a budget-friendly option, use your smartphone as the audio recorder with a voice recording app and manual gain control. Download an app like RecForge II or Hi-Q MP3 Voice Recorder which allow you to adjust input gain levels.
To record, mount your phone securely in a pocket or bag on your motorcycle. Use a lavalier mic connected to your phone’s mic input.
The app provides more control over levels compared to your camera’s mic, helping capture clean audio.
While more advanced recorders offer wind reduction, your phone can provide decent motovlog audio quality with some gain adjustment and optimal mic positioning.
Advanced Wireless Audio: Rode Wireless Go

The Rode Wireless Go is a versatile wireless mic system perfect for motovlogging.
Key features:
- Compact transmitter and receiver
- 30m range for recording audio separately
- No cables to connect mic to camera
- Passthrough 3.5mm output from receiver to camera
- 24-bit transmission for crystal clear audio
- Accessory packs available for mounting
By wirelessly capturing audio on a separate dedicated recorder not subject to bike vibrations, the Rode Wireless Go enables professional quality motovlog voiceovers. The passthrough output syncs everything up in editing.
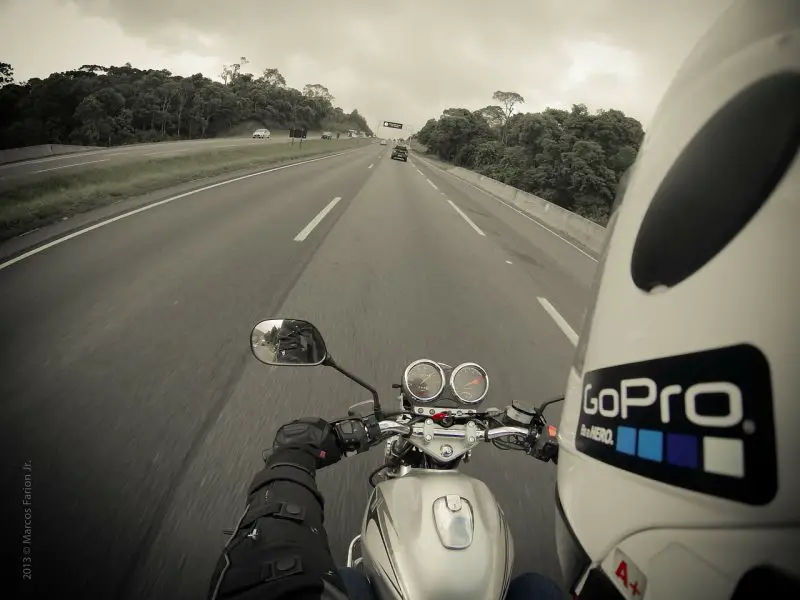
Securing Your Camera: Ideal Motovlog Mounts
In order to capture stable, engaging footage, you need to securely mount your action cam.
Chin Mount
A chin mount gives you an awesome first-person perspective for motovlogs. Mounting the camera on your chin bar pointed back at you provides an immersive view.
Make sure to get a chin mount designed specifically for motovlogging. It should have a low profile and put the camera in an ideal forward-facing position.
- Chinmounts Chin Mount – Low profile chin mount designed specifically for motovlogging
- GoPro Chin Mount – Official GoPro branded chin mount
- Helmet Hero Chin Mount – Basic chin mount that attaches with 3M adhesive
Chest Mount
While the chin mount gives you the classic vlog view, a chest mount provides a nice alternative. Seeing the bike’s handlebars in view provides helpful context.
Chest mounts allow you to glance down and incorporate gauge readings or your hands into motovlog commentary as well.
- GoPro Chest Mount – Official chest mount from GoPro
- AmazonBasics Chest Mount – Budget option under $20
- SP Gadgets Chest Mount – Fully adjustable and compatible with GoPro and other action cams
- Removu Chest Mount – Higher end option with quick release buckles
Bike Mounts
Bike mounts allow you to securely attach your camera to your motorcycle’s handlebars, frame, or seat post.
- GoPro Handlebar/Seatpost/Pole Mount – Official GoPro mount
Look for adjustable mounts that tightly clamp to your specific bike’s frame and provide adjustable angles. Test thoroughly before relying on any bike mount at high speeds.
Accessorizing Your Motovlog Camera
To unlock your camera’s full potential for stunning motovlogs, a few key accessories are a must:
ND Filters
ND (neutral density) filters reduce the light entering your lens. This allows you to set a lower shutter speed like 1/50 sec to get that beautiful motion blur in your footage.
Go with an ND 16 or 32 filter. ND 32 is better for bright sun, while ND 16 works well for lower light like overcast or sunrise/sunset.
Stabilizer
A 3-axis gimbal stabilizer like the GoPro Karma Grip or Insta360 One R stabilizer module goes a long way in smoothing out vibrations and bumps as you ride.
This lets you capture fluid, professional-looking motovlog footage even on rough terrain. Definitely recommended if your budget allows.
Tripod
A small flexible tripod like the GorillaPod provides a great way to statically mount your camera on your bike.
Set it up for a stationary close-up shot of you sitting on your motorcycle and talking to really mix up your motovlog angles.
External Battery Pack
Consider getting an external battery pack that can power your camera for extended periods. Look for a USB battery capable of outputting at least 1-2 amps to ensure your action cam gets consistent charging on long rides. Make sure to get weather-resistant options.
Power and Storage
Memory Cards
Invest in high quality, high capacity memory cards for your camera. Look for U3 or V30 rated microSD cards from reputable brands like Sandisk, Samsung, or Lexar.
When using GoPro cameras specifically, I highly recommend genuine SanDisk Extreme cards.
I’ve tried many cards over the years, and SanDisk has been the most reliable for high bitrate 4K footage without corrupted files. Buy from reputable retailers, as fake cards are common. For GoPros, 64GB or 128GB SanDisk Extreme cards are your best bet.
Keep spare cards on hand for longer trips. And don’t forget the card reader!
Configuring Your Camera Settings
To get the highest quality motovlog footage, you need to nail down the ideal camera settings:
- Resolution – Shoot in 4K at a minimum, or 5.3K if your camera allows it. This gives you room to stabilize or crop shots.
- Frame Rate – Higher frame rates (48-60 fps) let you capture and export epic slow motion footage. Or shoot 24-30 fps for a more cinematic feel.
- Shutter Speed – For motion blur, use a shutter speed of 1/48 – 1/60 sec. This enhances movement rather than freezing frames.
- Color Profile – Use a flat color profile. This gives you greater flexibility for color grading during editing.
- ISO – Select an ISO range from 100-800. Then your camera can automatically adjust exposure between rides from full sun to overcast.
Post-Production: Editing Your Motovlog Footage
Once you’ve captured epic motovlogging footage, it’s time to turn it into shareable video. Here’s a quick overview:
Editing Software
Invest in a good editing program like Adobe Premiere Pro or Final Cut Pro. Or use a free option like iMovie or DaVinci Resolve to start.
Editing apps on your phone work in a pinch too. But desktop software gives you more effects, tools, and control.
Color Grading
Use color grading to give your motovlog footage more of a visual style. This makes it more cinematic and engaging to watch.
Apply a unique color grade that reflects your channel’s personality – bright and punchy, dark and moody, natural or stylized. Go wild!
Start Motovlogging Your Way
Phew…that was a lot of information! But I hope this guide gave you a comprehensive overview of how to create professional-quality motovlogs with any budget.
The key is investing in solid gear that captures stable 4K video and clear audio. Dial-in your camera settings. Take the time to edit and grade your footage.
Learn and experiment as you go.
Most importantly, have fun with it!
Motovlogging is all about sharing your passion for motorcycles. Don’t stress about doing everything perfectly. Just start creating and improving.
Ride safe out there!