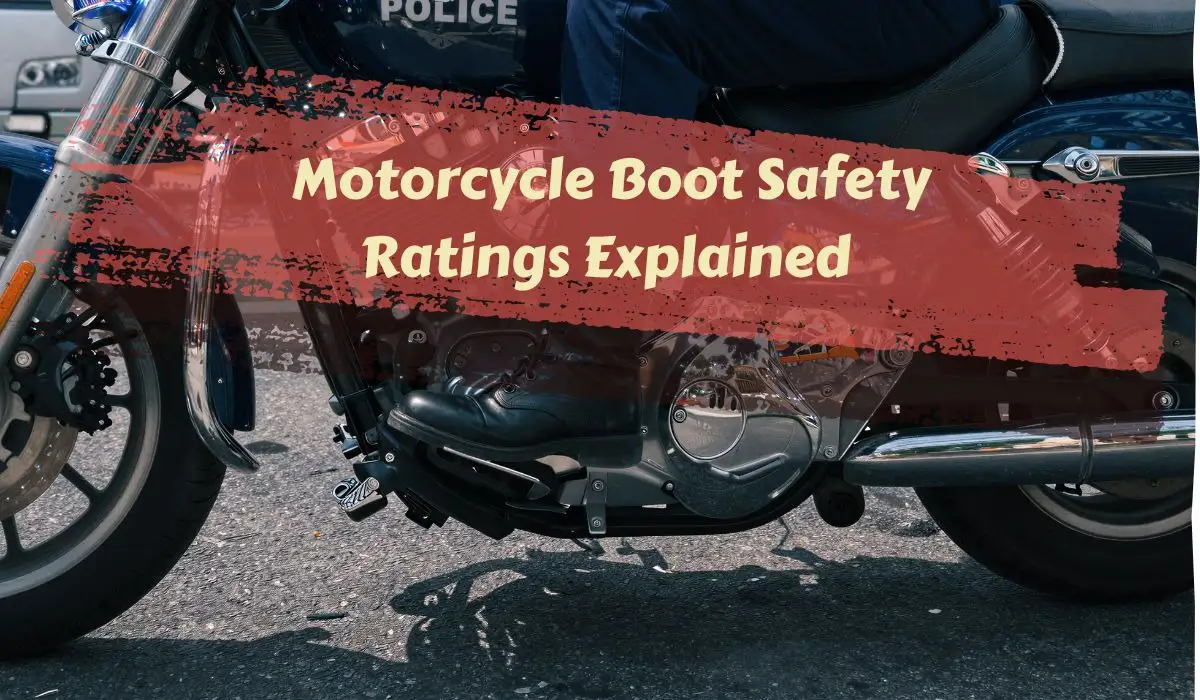
Motorcycle boot safety labels look simple, but most riders are guessing what the numbers mean. That guess can lead to buying a boot that feels fine in the shop but under-delivers when crash risk goes up.
This guide breaks down CE EN 13634 in plain language so you can read labels fast and buy boots that match your real riding speed and conditions.
Jump Ahead To:
What CE EN 13634 Actually Means
EN 13634 is the main safety testing standard for motorcycle boots. The label-facing parts riders usually check cover height, impact abrasion, impact cut, and transverse rigidity, but the full standard also covers other construction and performance requirements.
The certification is about crash protection, not just comfort. If you are comparing options across categories, start with the main motorcycle boots guide and then return here to decode the labels.
Why Ratings Matter in the Real World
At low speed, many boots can feel similar. At higher speed or in a fall, protection differences become obvious. More rigid soles, stronger upper materials, and better impact zones can reduce serious foot and ankle injuries.
If your priority is high-speed support, compare track-focused boot options. If your rides are mostly commuting, low-cut riding shoe options may still be enough when properly rated.
How to Read the 4-Digit CE Code
Most certified boots include a 4-digit sequence after EN 13634.
Digit 1: boot height classDigit 2: impact abrasion resistanceDigit 3: impact cut resistanceDigit 4: transverse rigidity (crush resistance)
Each value is usually Level 1 or Level 2. Level 2 means stronger test performance in that category.
Level 1 vs Level 2: Which One Do You Need?
Level 1
Level 1 is a baseline safety pass. It is often lighter and easier to walk in, which makes it common for urban commuting and casual road use.
Level 2
Level 2 is the stronger protection tier. It is usually stiffer and is often preferred for highway speed, aggressive sport riding, ADV use, and track environments.
If you ride long distances, compare this with touring-focused boot options and adventure-ready boot options.
Optional Markings You Should Know
Some boots include extra letter codes in addition to the 4 digits.
IPA: ankle impact protection test passedIPS: shin impact protection test passedWR: water resistance test passedFO: fuel/oil sole resistanceSRA/SRB/SRC: slip-resistance test variants
These optional marks help you narrow boots by specific needs, especially rain commuting and mixed-surface riding.
If you also need the protection layout explained beyond the label codes, use how motorcycle boots protect your feet and ankles.
Why Work Boots Are Not a Real Substitute
Heavy work boots can feel sturdy, but they are tested for different hazards. They are not designed for high-speed slide abrasion or motorcycle-specific crush scenarios in the same way CE motorcycle boots are.
That is why a proper motorcycle rating still matters, even if a work boot looks tough.
Common Misreads and Buying Mistakes
Mistake 1: Believing “DOT-approved” Boot Claims
DOT or FMVSS 218 applies to helmets in the U.S., not motorcycle boots.
Mistake 2: Assuming One CE Level Fits Every Rider
A city commuter and a track-day rider do not need the same stiffness and protection profile.
Mistake 3: Ignoring Fit While Chasing Ratings
A high-rated boot with poor fit can still create control problems and fatigue.
Use boot fit and sizing basics before final purchase.
Practical Selection Flow
- Define your real riding pattern: city, highway, touring, track, or mixed dirt.
- Match protection level to risk: Level 1 often works for lighter use, while Level 2 is often the better fit for higher-speed or higher-impact scenarios.
- Check optional codes (
WR,IPA,IPS) for your climate and use case. - Confirm fit with your actual ride socks and pants.
- Maintain boots regularly so protection does not degrade early.
For care workflow, use boot care and conditioning steps and our sole repair and grip-restoration guide.
Frequently Asked Questions
What is EN 13634 in simple terms?
It is the main motorcycle boot safety test standard used to rate protection performance.
Is Level 2 always better than Level 1?
For protection, yes. For comfort and flexibility, not always.
Can a boot be mixed-level across categories?
Yes. A boot can score differently across height, abrasion, cut, and crush categories.
What does WR mean on a boot label?
WR means the boot passed a water-resistance test.
Are hiking boots safe enough for motorcycle riding?
Usually no. They are not built for the same crash and abrasion demands as rated motorcycle boots.
Do CE ratings guarantee no injury?
No rating can guarantee that. Ratings reduce risk by setting minimum and advanced protection performance.
How often should I replace certified boots?
Replace when structure, sole integrity, or protection zones degrade significantly, even if the original label is still present.
What should beginners prioritize first?
Fit and baseline certification first, then weather and style preferences.
Once the boot is selected, the next easiest comfort fix is often sock choice rather than chasing a different size. For that layer, compare socks for motorcycle boots.
For warm-weather city use, compare low-cut riding shoe options. For wet-weather riding, review our waterproof boot buying guide. If you are deciding between boot types, use supermoto-ready boot options and full motocross boots as side-by-side references.