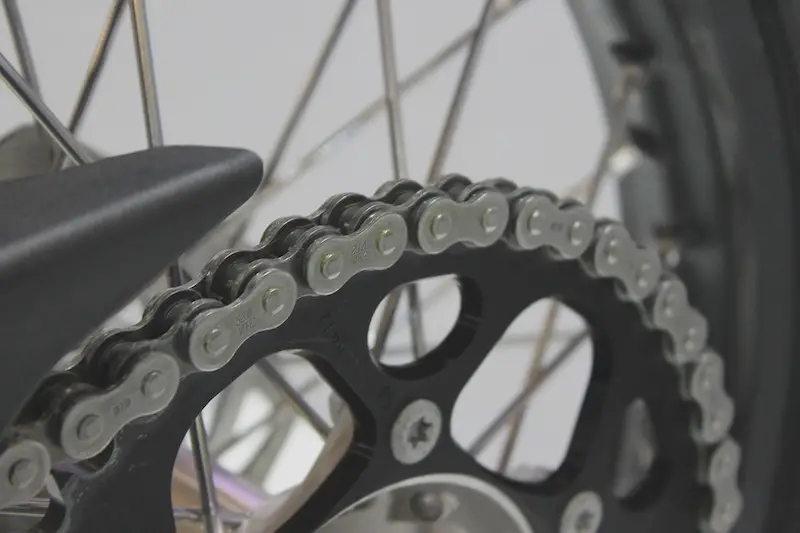
Chain maintenance, along with regularly changing the oil, is one of the most important aspects of proper motorcycle maintenance. This is one aspect of basic maintenance that you can do on your own at home without any special tools.
One of the most common issues with motorcycle chains is that they build up rust if not properly maintained. This rust won’t have a noticeable impact on performance until the chain becomes rusted all the way through.
A lot of you might be wondering how long a motorcycle chain lasts and when it’s time to replace. Keeping up with maintenance definitely helps to extend the lifespan of your chain, especially if it’s rusted.
It’s a good idea to avoid letting this happen. Having a rusty chain also makes you look like a lazy and unorganized rider. With this in mind it’s important to keep your chain lubed, clean, and rust-free for an optimal riding experience.
Jump Ahead To:
How to Remove Rust From Your Motorcycle Chain
In this post I want to talk about how to remove rust from a motorcycle chain to keep it running efficiently.
Step 1 – Lift Your Motorcycle Back Tire
The first step in removing rust from your chain is to make the chain easy to access. This is done by lifting the back tire of your motorcycle.
This isn’t completely necessary but using a motorcycle lift will make this process a lot easier. The lifted back tire gives you better access to the chain.
With the bike lifted this also allows you to spin the back tire and look more closely for any rusty spots or damage. Once the bike is lifted you can move on to the next step.
Step 2 – Cover Your Work Area
If you’re working in your garage or an enclosed space you’ll want to cover the ground and anything nearby. Once you start scrubbing the chain the cleaner, leftover lube, and any debris will start flying everywhere.
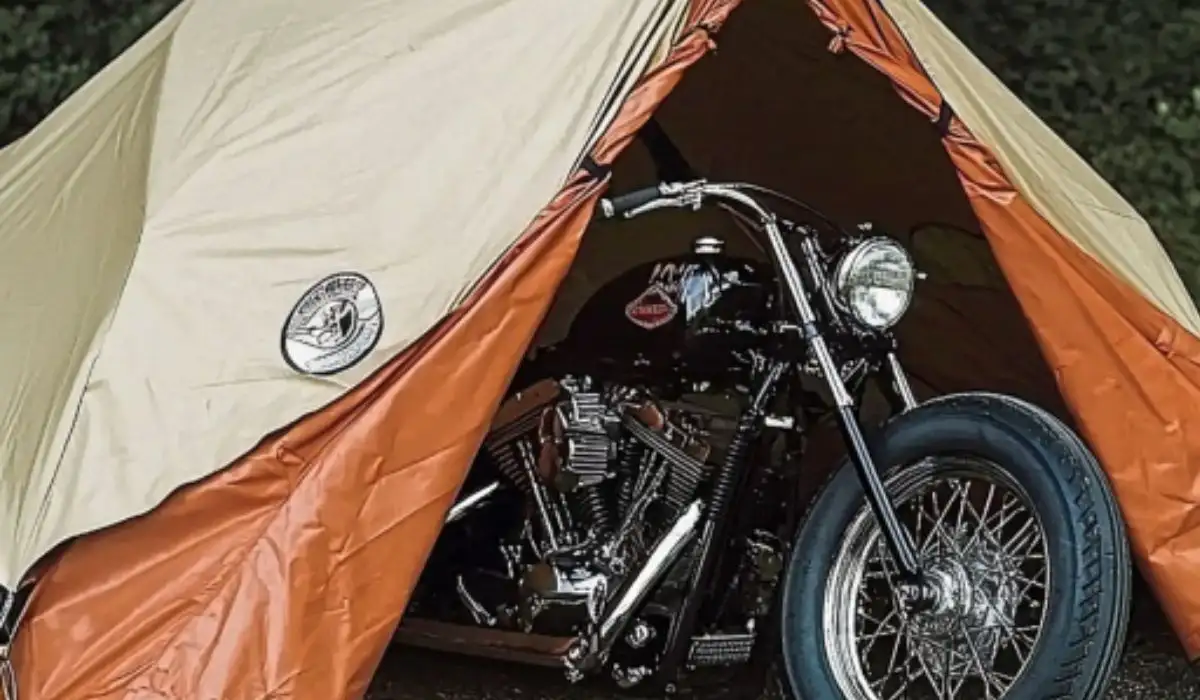
Newspaper, old bed sheets, and large towels will make a great base to keep your work area clean. Don’t forget to cover your bike if you don’t want any of these chain cleaning components coming into contact with your ride.
Step 3 – Spray the Chain with Kerosene + Let it Sit
Kerosene is arguably one of the best motorcycle chain cleaners. It’s a natural and affordable alternative to branded products.
Compared to WD-40 and anything you would find at your local motorcycle store, kerosene is going to be the most effective way to properly clean your chain.
Using your kerosene in a spray bottle, spray the entire chain while spinning your rear tire. Let the kerosene coat the chain and work its way into the grooves/links.
After spraying, let the kerosene sit for 5-10 minutes while it dissolves all of the old lube, rust, and debris. Consider wearing gloves and protective goggles to avoid getting any kerosene in your eyes.
Step 3- Start Scrubbing
With your gloves and goggles still equipped, start scrubbing the chain vigorously using your motorcycle chain cleaning tool of choice. Personally, I prefer this style of cleaning tool, though you could use a toothbrush or cloth – it’s up to you.
Work on one section at a time. Move on to the next section once you’re happy with how the cleaning is going.
To easily access each part of the chain spin the rear tire in small rotations. This is going to make cleaning and lubing your motorcycle chain even easier.
Don’t worry about any excessive rust spots at the moment. We’ll take care of those in the following steps.
Step 4 – Wipe Down the Chain + Reinspect for Rust
Once you’re finished cleaning the entire chain, give it another spray. Let it sit for a few minutes then wipe it down using a microfiber cloth.
This will let you inspect the links for any remaining rust spots. You can continue working on these spots using your kerosene until all the rust has been removed.
Keep inspecting and looking for rust until you’re happy with the chain condition. When you’re finished, wipe it down once more to remove as much of the kerosene as possible.
At this point your chain should be clean and free from rust. Inspect the O-rings to ensure they’re not damaged and function as intended.
Step 4 – Lubricate Your Clean Chain
With the chain as clean as possible it’s time to lubricate it for your next ride. Take out your favorite motorcycle chain lube and give the chain a few sprays while rotating the back tire.
This will coat all of the components in lubrication to help the chain work as intended. A properly lubed chain is also more resistant against rust and other light damage caused from regular riding.
Let the bike sit for a few minutes while the lubricant works its magic. Once the chain is coated you’ll be ready to hop on and go for a rip!


