With these helpful motorcycle maintenance tips you’ll be able to enjoy problem-free rides without having to worry about something going wrong. Maintaining your motorbike also helps to increase its lifespan giving you many more years of riding from the same bike.
Proper maintenance, like following the service schedule in your motorcycle manual, keeps your bike running at its peak performance. Better motorcycle fuel economy, a safer riding experience, and spending less money on upkeep in the long run are just a few of the many benefits of maintaining your motorcycle.
It might seem daunting, especially for a new rider, but these helpful motorbike maintenance tips are easy to follow and can all be done at home. Stop putting off the maintenance that needs to be done and follow this guide to keep your bike running in tip-top shape.
Let’s jump right into this motorcycle maintenance checklist!
Jump Ahead To:
Motorcycle Maintenance Tips: How to Maintain Your Motorbike
1. Follow the Scheduled Maintenance From Your Motorcycle Manual
Every motorcycle comes with a manual that’s loaded with helpful information. One of the most helpful sections in these manuals is the scheduled maintenance checklist or calendar.
This checklist or calendar provides riders with specific time frames or mileage numbers for when it’s time to perform different parts of motorcycle maintenance. These intervals need to be followed to keep your bike running at peak performance and to find any issues before they become problems.
Scheduled maintenance typically happens at intervals like 600mi/1000km, 2500mi/4000km, 5000mi/8000km, all the way up to 30000mi/48000km. There are also parts of the bike that need to be inspected annually. For example, these schedules want you to inspect or replace parts of the bike like the fuel line, spark plug, drive belt, crankcase breather, and throttle operation. There are even intervals for engine oil, brake fluid, and coolant levels for when they need to be replaced.
This maintenance schedule makes it easy to stay on top of your motorcycle maintenance. With the schedule you’ll know exactly when your bike needs to be maintained and what needs to be done. If you bought a used bike without a manual, consider picking one up immediately so you can follow the maintenance schedule.
2. Inspect and Change the Oil and Oil Filter Regularly
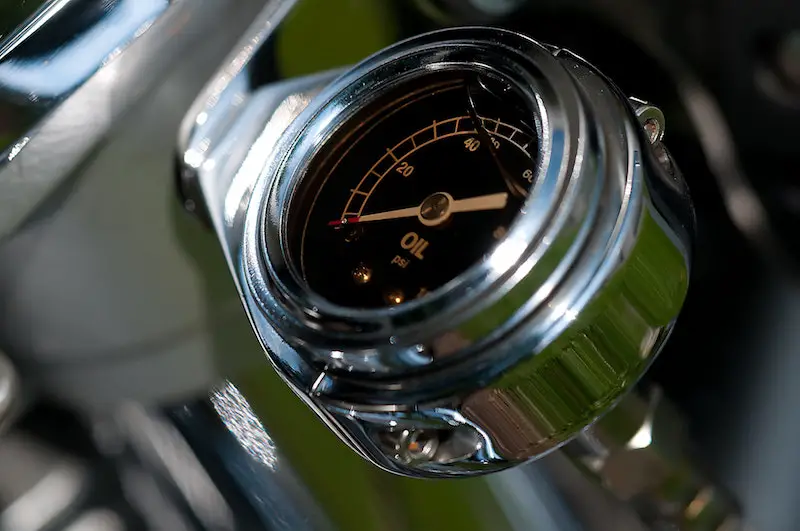
The motorcycle engine oil is the lifeblood of your bike. It’s what lubricates all of the internal components, such as the gears, and keeps everything running smoothly. It’s important to inspect oil levels and change your motorcycle oil when necessary.
There’s no specific range on how often to change your motorcycle oil. Instead, it’s a good idea to change it regularly by following the motorcycle maintenance schedule that was just mentioned. Some riders like to change the oil every 300-500 miles, although many modern motorcycles can go much further between oil changes.
Changing the oil on a motorcycle is an easy task. There’s no reason to bring it to your local motorcycle shop for an oil change. Most motorcycle owner’s manuals provide instructions detailing how to change the oil as well as the recommended oil to use. Depending on the type of engine oil you’re using, you can extend the intervals between oil changes as long as you regularly inspect the oil level.
Don’t forget to change the motorcycle oil filter whenever you’re changing the oil. You don’t want to clean, new oil running through an old filter that can be clogged with particles or debris. These parts can be found online or at your local motorcycle shop.
3. Regularly Check Tire Pressure and Condition
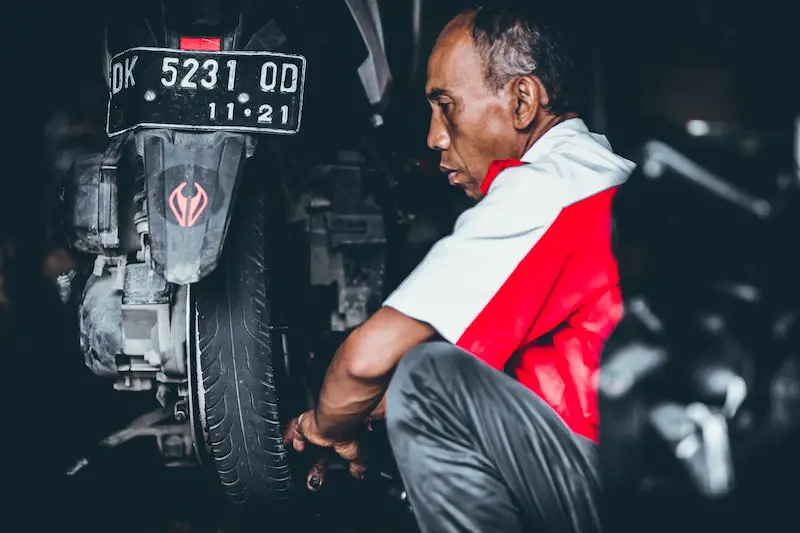
Before every ride it’s a good idea to visually inspect the condition of your motorcycle tires. Start by checking the tread and look for any visual damage, such as cracks or flat spots. Also, look for any objects stuck in the tire that could cause damage on your ride, such as a nail or piece of glass.
Generally speaking, most riders can get upwards of 10,000 miles from a pair of tires depending on the type of bike and how it’s ridden. Front tires will always last longer than rear tires.
After checking the condition, you should also check the tire pressure using a tire pressure gauge. Personally, this isn’t something I do every ride. However, checking the tire pressure is important before longer rides to avoid premature wear and tear.
I like to check the pressure every 500 miles. Using an electric tire pressure gauge the process takes less than a minute. It’s a good idea to check your tires more often when they’re new. Once you’re convinced that they’re not leaking air between rides, you can extend the interval between pressure checks. Always check the pressure on cold tires before your ride, never after you’ve been riding for any length of time.
4. Properly Maintain the Chain
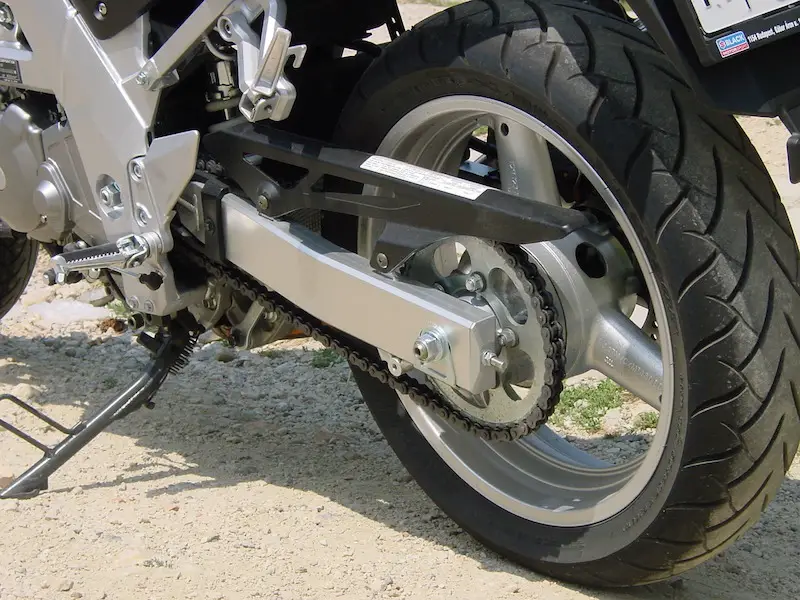
It’s easy to stay on top of motorcycle chain maintenance. This will increase the lifespan of both your chain and sprockets while providing a smoother ride.
Cleaning the chain is a quick process, especially when you’re using the proper motorcycle chain cleaning tools. After cleaning the chain it needs to be lubricated to ensure it keeps running smoothly. Check out our post on the best motorcycle chain lubricant if you’re not sure on which products to use for your bike.
The motorcycle chain should be lubricated every few hundred miles and after any long day trips. You’ll want to keep an eye on it during dusty and dry conditions as well as any exceptionally wet riding conditions. Keep in mind you don’t need to clean the chain every time you lube it. Always clean it if you notice any issues, such as rust on your motorcycle chain.
A properly lubed chain will extend its lifespan and prevent premature wear and tear to the sprockets. It also helps to prevent it from stretching out too early.
4. Check the Chain Tension and Condition
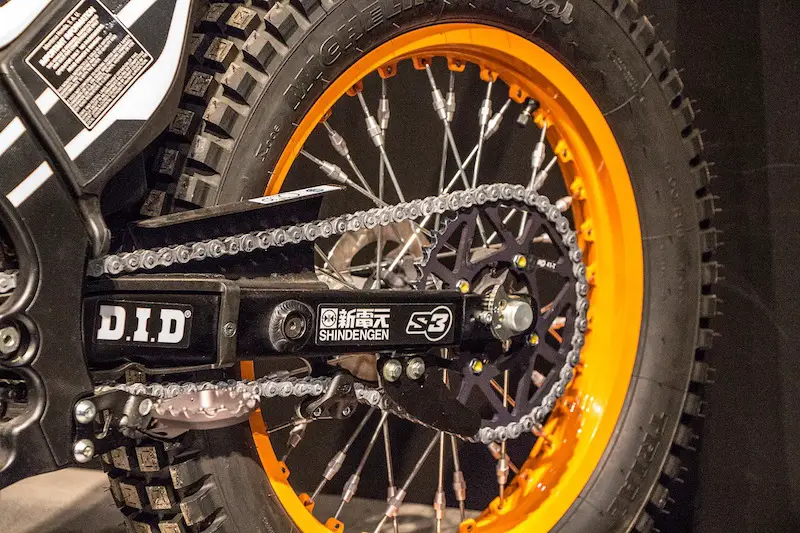
Along with basic motorcycle chain maintenance, you should also be checking the tension and condition of your chain on a regular basis. The chain slowly gets looser after every ride and eventually needs to be tightened. It’s possible to go hundreds or thousands of miles before needing to tighten the chain, but it’s important to check it regularly.
You’ll find the proper chain tension for your bike in the motorcycle maintenance or owners manual. There will be a specific length that your chain can stretch before it needs to be tightened. This is another part of motorbike maintenance that can be done at home if you have the right tools and a dedicated motorcycle stand.
A loose chain can damage your sprockets and wear itself out prematurely. It can also skip across the sprockets, which can lead to problems during a ride.
Apart from checking the tension, regularly inspect the condition of your chain. Check that it’s relatively clean and free of any dirt or debris. Look for any kinks, missing O-rings, or any general damage to the chain itself that might indicate it needs to be replaced.
5. Keep the Air Filter Clean
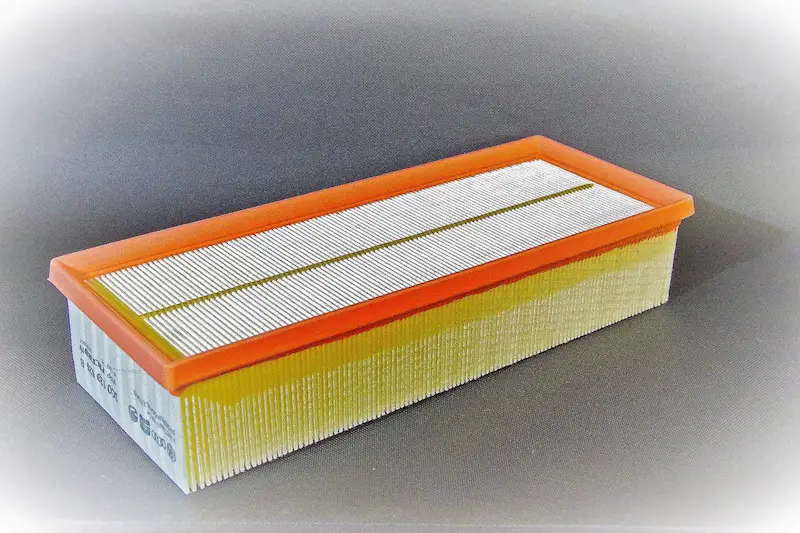
Most motorcycle air filters can go thousands of miles before needing to be replaced. However, this doesn’t mean you shouldn’t regularly inspect the air filter condition.
It can be easy or difficult to remove the air filter depending on your bike. Either way, you should pull it out every few thousand miles and take a look. Riding in dry and dusty conditions can accelerate how quickly the filter gets clogged up. This can have an impact on your riding experience.
After pulling out the air filter, hold it up to the light. Check that there is light coming through the filter and that it’s not clogged with dirt or debris. You can choose to clean it at any point using compressed air or a damp cloth.
Always change the filter at the recommended intervals in your maintenance schedule, regardless of how clean or dirty looks. You wouldn’t want to risk dirty, debris-filled air running through your bike.
6. Clean Your Bike Often
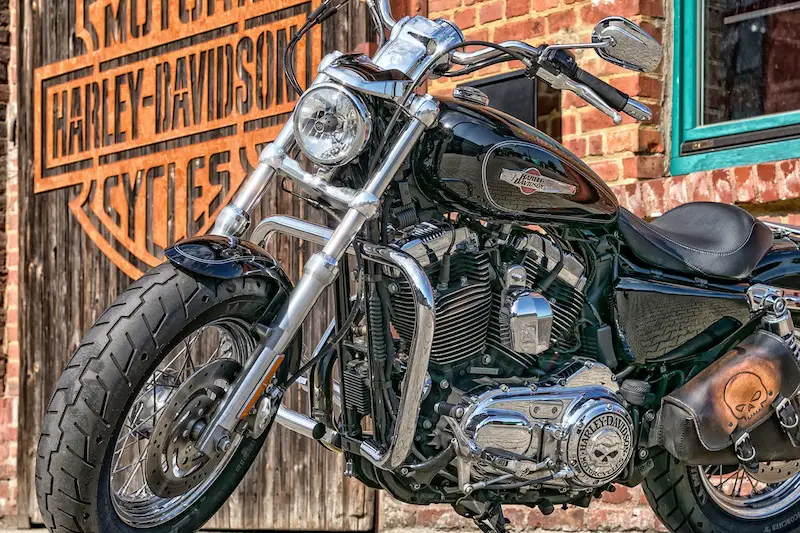
If you’re like me, and you love your bike, you’ll be cleaning your motorcycle on a regular basis. Either way, it’s easier than cleaning your car and a more rewarding process. Not only does a clean motorcycle look amazing, it will also help to extend its lifespan.
On every ride dirt and road debris builds up on your bike and its interior components. Left alone, this dirt and debris can eventually damage the parts on your bike from friction. Harsh chemicals, like salt, can get left behind if you’re riding your motorcycle in the winter. These chemicals can cause premature rust and also lead to more damage.
It’s also easy to spot any potential issues on a clean motorbike. You’ll be able to notice any cracks or any components that are damaged or broken. It’s also easier to notice any missing bolts, loose nuts, or other parts that may have fallen off.
Cleaning a motorcycle shouldn’t take more than an hour or two. Consider picking up the right motorcycle cleaning products to avoid damaging the paint and other parts. Don’t forget to cover ignition switch and exhaust so that these parts aren’t covered in water.
Always use a microfiber cloth to clean your bike. Make sure you’re using the right cleaning products and take your time to carefully clean all of the components. Never use a power washer directly on your motorcycle.
As for how often to clean your motorcycle, it’s a good idea to clean it every week if you’re riding regularly. You should also clean it before and after you put it in storage for any extended length of time. Cleaning it after unusually dirty rides is also a good idea.
7. Check the Brake Pad Condition and Thickness
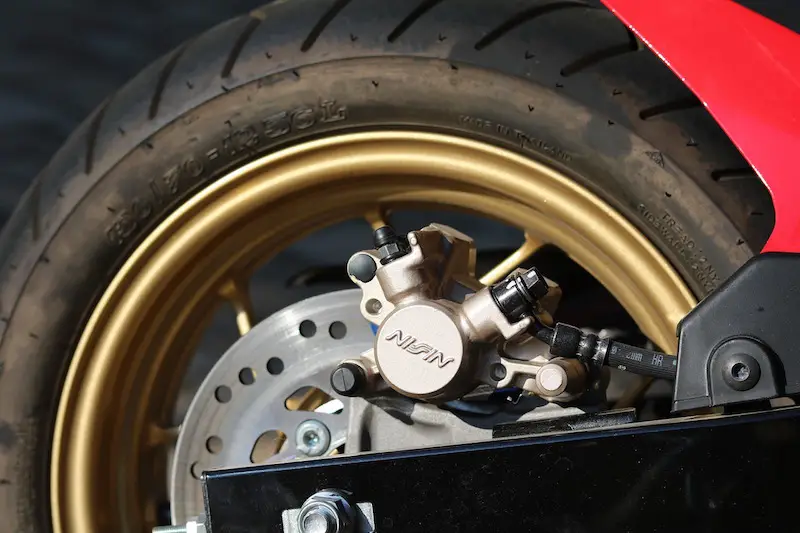
Brake pads are one of the main consumables on your motorcycle. They need to be regularly checked to ensure that there is enough brake pad to provide you with proper stopping power.
Over time, the pads wear down as they’re being used. The harder they are used, the more quickly they’ll break down. The breakdown can also be accelerated in dry, dusty conditions with a lot of debris on the road.
The appropriate thickness will be listed in your motorcycle maintenance manual. This will tell you how much life you have left in your brake pads and whether or not it’s time to change them. the recommended thickness might also be stamped on the brakes or disc plates themselves depending on your bike.
8. Properly Care for the Battery
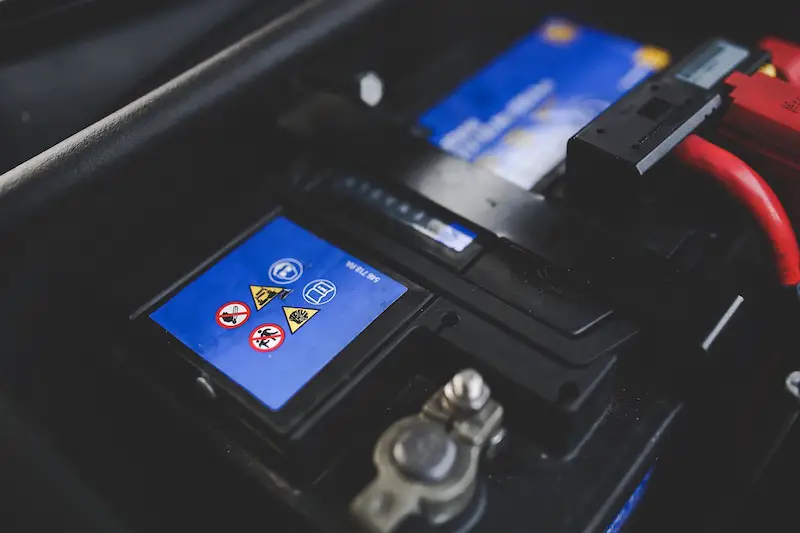
Motorcycle batteries can last many years of regular use as long as they’re properly maintained. Modern batteries are even better compared to those from just 10 years ago or more. You can expect to get 20,000mi up to 40,000mi of life from a single battery if you maintain it. Check out our post on the best motorcycle batteries if you’re in the market for one or looking for an upgrade.
Maintaining a motorcycle battery is simple. Start by regularly inspecting the battery and looking for any leaks or discharge. Avoid hooking up too many accessories to the battery so that it’s not being overdrawn every ride.
During the winter, never leave your battery in your motorcycle if you’re not riding it. Taking it out and hooking it up to a motorcycle battery tender will keep it charged and extend its lifespan. It’s also a good idea to avoid short rides during the winter where the battery doesn’t have enough time to fully charge.
Given the cost of motorcycle batteries, consider replacing the battery if you’re buying a used motorcycle. It’s hard to tell how the old owner treated the bike and you’re better off with a new one that you can watch over.
Should the battery ever die, make sure you use a proper motorcycle battery booster. Using a booster design for cars can damage both the battery and the electrical system on your bike.
9. Watch the Fluid Levels and Replace When Necessary
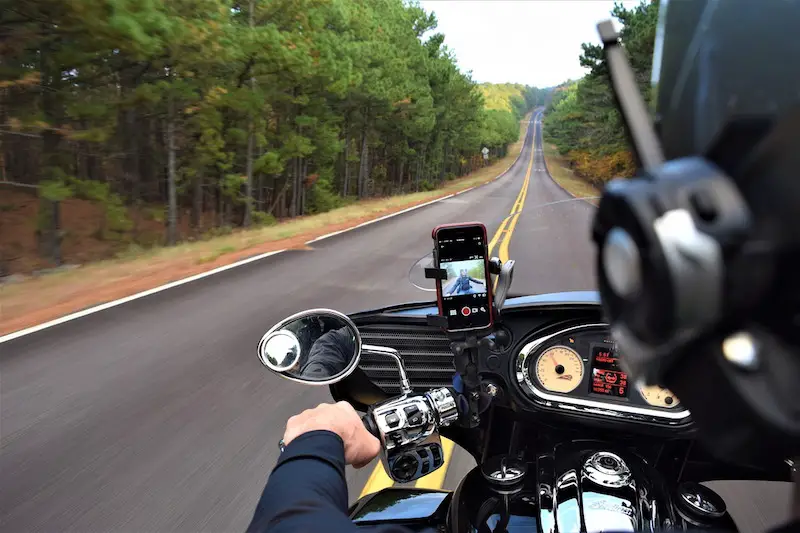
There are a few important fluids that help keep your motorcycle running smoothly. Neglecting these fluids can damage your bike and lead to problems on future rides.
The most important fluids are the brake fluid and coolant. Running low on either of these, or letting them get too dirty, can lead to permanent damage. Inspect these fluids on a regular basis and follow your motorcycle maintenance schedule for the recommended intervals for a fluid change.
For some, this might be an aspect of maintenance you can do on your own. Bleeding the brake lines and coolant will require special tools, though it’s not a difficult job. Otherwise, bring your motorcycle to your local mechanic for the necessary maintenance.
10. Check the Sprockets for Damage and Wear
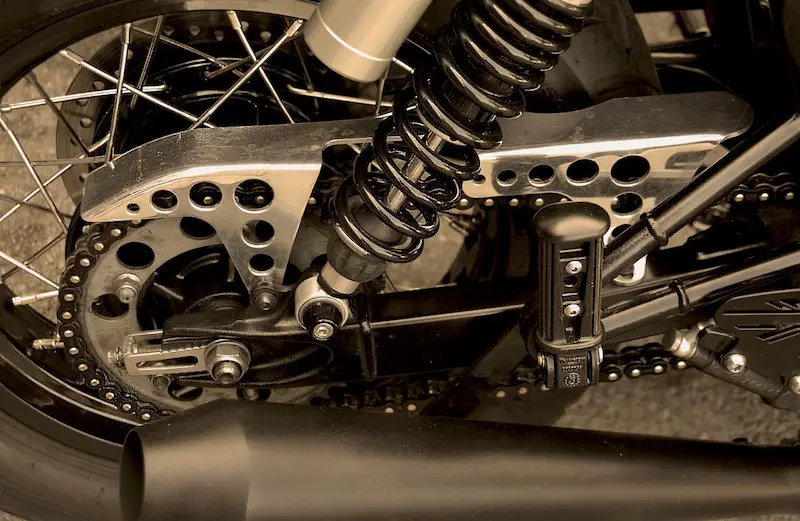
The sprocket condition was mentioned in the chain section, but this aspect of maintaining your motorcycle is important enough to be mentioned on its own. Sprockets wear down and can become damaged over time. It’s important to regularly inspect them to avoid damaging the chain prematurely and to keep your bike running smoothly.
Most modern sprockets will last upwards of 25,000 miles or 40,000 kilometers depending on how the chain was maintained. Their lifespan also depends on the riding conditions. This is a motorcycle component that doesn’t need to be replaced often, but that still needs to be inspected regularly.
Whenever you’re changing the sprockets, you’ll want to change all of the drivetrain consumables. This means both of the front and rear sprockets along with the chain. Changing just one sprocket will lead to uneven wear on both the chain and other sprocket.
11. Perform Monthly Checks
Apart from following the maintenance schedule, performing monthly checks on your bike can keep it running at peak performance. This will also allow you to find any small problems that you can deal with before they become major issues.
Start by checking the spark plugs. They may need to be cleaned or adjusted depending on their condition. It’s possible they’ll need to be replaced if you’re having problems starting your motorcycle or if they are excessively dirty.
Next, check the control cables for the clutch and throttle. Refer to your manual to determine how much free play is allowed. They may need to be adjusted.
Afterwards, start your bike and check the idle speed. Refer to the manual for the appropriate idle speed. If your bike is idling too high or too low there may be a problem.
Finally, lubricate the lever pivots on both the clutch and front brake. Check that the rear brake and shifter lever are functioning as intended. None of these parts should be damaged, cracked, or broken in any way.
12. Perform Quarterly Maintenance
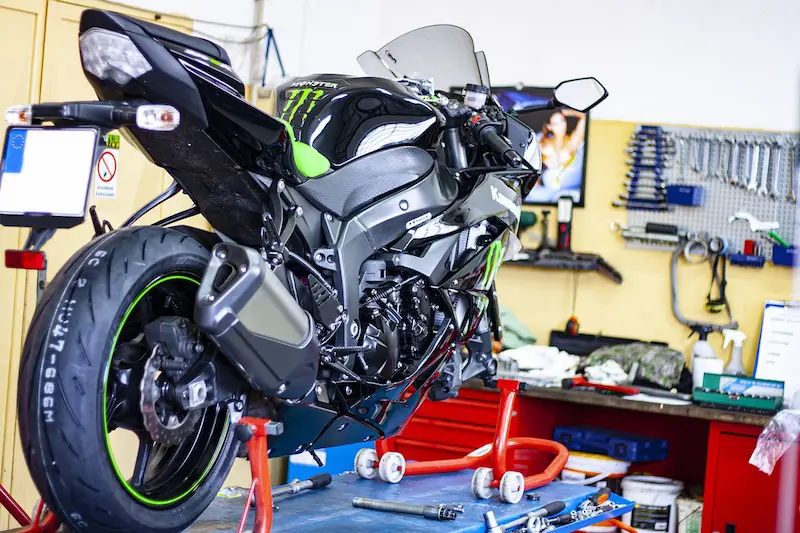
Along with monthly checks, quarterly maintenance is also necessary for properly maintaining your motorcycle. Consider checking these parts every 3 months, or 2,500 miles, depending on which comes first.
For quarterly checks, start by inspecting the oil. If it needs to be replaced, change the oil and install a new oil filter.
Along with the oil, check the air filter. Scroll up to the section on air filters for a better idea on how to properly maintain them.
Next, check the wheel and steering head bearings. Ensure that they are functioning as intended. If not, lubricate them or replace them depending on what’s necessary.
Finally, check the exhaust system for any exhaust leaks. There shouldn’t be any smoke or soot coming from the exhaust except from the end of the exhaust pipe.
13. Follow Break-In Procedures on a New Motorcycle
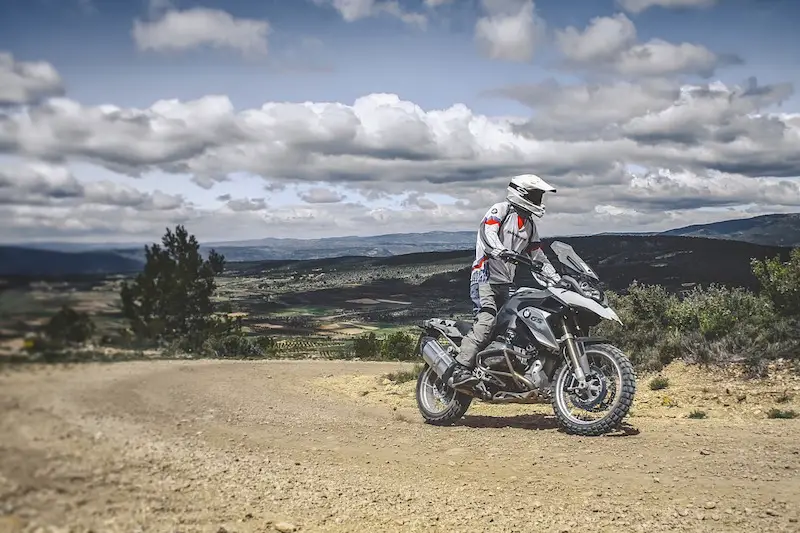
There are specific break in procedures for new motorcycles that you want to follow to avoid damaging the engine. Following these procedures will also increase the lifespan of your motorcycle.
The breaking in period in for most bikes lasts up to 1000 miles. During this period the bike needs to be ridden properly and in a manner recommended from the manufacturer. The result of a proper break in is lower emissions, better fuel economy, better performance, and increased engine longevity. The other components on your motorcycle will also work better and last longer.
During the first 1000 miles of owning a new bike you should avoid using more than 3/4 off the throttle. Try to stop yourself from running the bike at high engine speeds or keeping it at high revs for extended periods.
Don’t make any hard stops or aggressive starts unless there’s an emergency. You also want to avoid rapid acceleration. Finally, never lug the engine. Always downshift or shift up at the correct engine speeds to keep your bike running smoothly.
There are plenty of guides online detailing how to properly break in your motorcycle. Check these out and take notes before hopping on a new bike.
